|
COS 126 Display Wall Instructions
|
This page gives Instructions on how to post your recursive graphics
assignment on the Frist Campus Center
display wall.
The key factor is to submit a JPEG image that is 4096 x 1536 pixels in
size. Below we explain a method for transforming your PostScript files
into the desired JPEG image.
After we receive your images, we will arrange to have then
shown on the Frist display wall at a future date.
-
Use
TurtlePNG.java,
TurtleJPEG.java,
or
TurtleEPS.java,
to create PNG, JPEG, or EPS pictures. (We're not really sure which one will
produce the best results. Let us know.) If using PNG or JPEG, you may wish
to increase the canvas size from 512-by-512 to something larger.
-
Adobe Photoshop is an ideal program to use for this project: it can
read various graphics files and rasterize PostScript images.
Also, it is installed on the OIT Windows clusters. The directions below
assume you are using this program.
-
Compose your image in Photoshop.
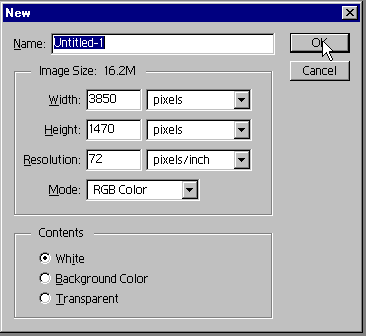
Create a new image of size 4096 x 1536 (don't use the 3850 x 1470 number
in the screen snapshot). Choose RGB color mode.

4096 x 1536 pixels is quite a large amount of real estate. You can
add text by using Photoshop text tools. The next section describes
how to insert PostScript pictures. Be sure
to save your work frequently -- Photoshop occasionally chokes
on large files (e.g., error messages
such as "unrecoverable error: sorry." and crash goes Photoshop).


-
When importing (converting the PostScript to pixels -- done when
you open a PostScript file) you may want to scale your image. The typical
PostScript image is 512 x 512 pixels at screen resolution so doubling or
tripling (or more) the size when you open it is fine. (You will get
the highest quality results by scaling at the same time you read in
the PostScript file.)
Note that when you
open the file, your art will most likely be in the center of an
8.5 by 11 inch image (612 x 792 pixels).
Use Photoshop's ample selection, copy and paste features to select
portions of you PostScript file. Also, choose to work in the RGB
colorspace (as opposed to CMYK). If you forget, you can always change
this later with image->mode->RGB.
Have fun with this -- the final image
does not have to be your straight Turtle graphics image. Experiment, and
play around. You're also free to work with a classmate
and use both of your results in the same image.
Here is a sample file
(1/8 size,
1/4 size,
full size)
for the Dragon Curve to give you an idea of what is possible.
Be sure your image contains the following information:
-
Your name.
When you become famous, the signed artwork will be more
valuable. :)
-
A title, e.g.,
The Jurassic Park Curve.
-
The course: COS 126.
-
A description of how your image was generated. Your
description can use text, pseudocode, graphics, or any
combination of all three.
-
Your phone number is optional :)
-
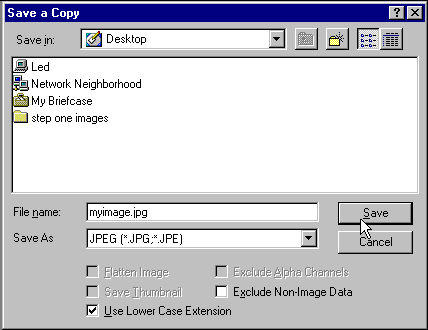
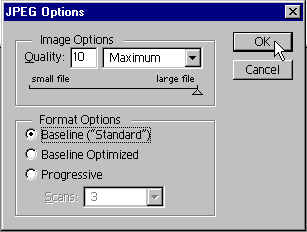
Name your file "username.jpg" and submit it along
with the current assignment.
This page created by
Matt Webb
and
Kevin Wayne.


