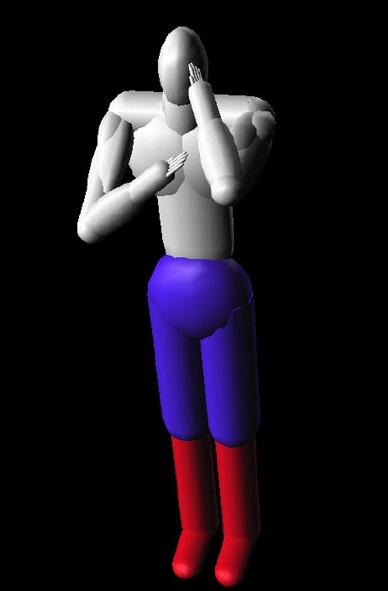
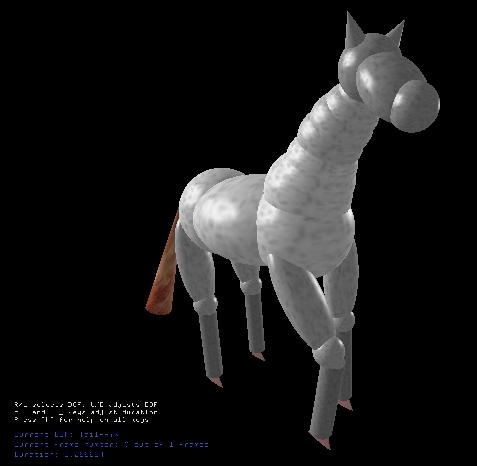
 Thanks to Chuck Rose for ideas, code, and data!
Assignment 5: Keyframe Animation
Due: 12/8/2000, at 11:59PM
Overview


Overview
In this assignment you will animate motions for an articulated figure.
You will be given an articulated 3D model and sets of keyframes specifying
the orientations of articulated joints at specific time steps. Your
job is to interpolate the keyframes smoothly over a time interval and display
the articulated figure in an OpenGL window so that it performs animated
actions (e.g., walks, dances, etc.) in real-time.
What You Have to Do
The assignment is worth 20 points. The following is a list of features
that you may implement. The number in parentheses corresponds to how many
points it is worth. Options in bold are mandatory. You should
implement two programs: a keyframe editor and a keyframe animator.
Keyframe Editor:
The keyframe editor is a program that allows a user to edit
keyframe parameter values interactively while displaying a smooth curve
interpolating the data. should read in a .key file specifying a sequence
of values for each of several named parameters at a sequence of uniformly
spaced time steps and open an OpenGL display window. You should allow
the user to select any of the parameters from a pull-down menu and draw
a curve through the keyframe values for that parameter. The user
should be allowed to drag the keyframe values up and down while updating
the curve in real-time. Finally, you should allow the user to save
the new keyframe values to a new .key file. An overview of the .key
file syntax can be found here.
A parser can be found here.
-
(4) Write a keyframe editor that allows a user to select a parameterized
joint from a .key file using a pull-down and displays a piecewise linear
curve through the keyframe values for that joint in an OpenGL window.
-
(2) Augment your keyframe editor with the ability to drag keyframe
values up and down for the selected joint interactively while the curve
is updated in real-time. Provide a key stroke or menu item to save
the edited keyframe values to a new .key file.
-
(2) Modify your keyframe editor to draw the curve for each keyframe
parameter using a piecewise cubic Catmull-Rom spline.
-
(2) Implement the ability to resample your piecewise cubic Catmull-Rom
curves at a specified number of regular intervals and generate a new .key
file with the corresponding resampled value information.
-
(?) Impress us with something we hadn't considered...
Keyframe Animator:
The keyframe animator is a program that animates motions of
an articulated figure according to a specified set of keyframes. The input
to the program will be a .ray file specifying an articulated figure as
a hierarchy of limbs connected by parameterized joints, specified by a
new .ray file command, called #joint_begin ... #joint_end, which is similar
to #group_begin ... #group end. The resulting scene graph is a hierarchy
of rigid-body links connected by parameterized joints, each of which represents
a single-parameter transformation (e.g., rotation) to be applied to its
subtree. A .key file can be included (via the #key_file command)
to specify the value of each parameterized joint at specified time steps.
Your job is to write a real-time OpenGL program that animates and draws
the articulated object described by the .ray file according to the keyframes
specified in the .key file. An overview of the new .ray file syntax
can be found here.
-
(2) Create at least one interesting .ray file containing at least
10 parametrized joints.
-
(2) Create an associated .key file that defines an interesting motion
for your new .ray file (e.g., a pole vault).
-
(2) Modify the void
KeyFile::setParameterValues(float time) method to set all parameters
at each animation time step using linear interpolation.
-
(2) Modify the void
KeyFile::setParameterValues(float time) method to set all parameters
at each animation time step using interpolation with piecewise cubic Catmull-Rom
splines.
-
(1) Implement the ability to dump the frame buffer to a sequence of images
corresponding to uniformly space time steps.
Demonstrate this feature by making a movie of the new animation you've
created.
-
(1) Make the keyframe animation sequence loop smoothly by fitting a closed
spline through the keyframe data.
Demonstrate this feature with a repeating walk cycle.
-
(1) Update the Scene structure to allow for a file that specifies
the position, and direction, of a camera at regular intervals in time and
update the position and direction of the camera appropriately.
-
(2) Add the ability to composite two motions specified in separate .key
files onto the same actor at the same time.
You may want to augment the .key files to include a #start time,
and linearly blend between motions for the subsets of joints in both
.key files during transition periods.
Demonstrate this feature with a hand waving motion composited onto
a walking cycle.
-
(2) Add the ability to transition and composite motions in separate .key
files under interactive user control.
-
(2) Modify the void
KeyFile::setParameterValues(float time) method to set all parameters
at each animation time step using piecewise cubic uniform Bsplines.
You will have to compute the K Bspline control points whose curve best
fits the keyframe data with the provided SVD solver before the animation
begins (for any K specified as a program argument).
-
(3) Modify the KeyFile::setParameterValues(float time) method to set all
parameters at each animation time step using non-uniform cubic Bsplines.
Provide a way to let the user adjust the the knot spacing interactively.
-
(3) Given two sets of values for the parameters describing the state of
the (same) scene-graph, define a measure of how "far" the two sets are
from each other. (You may want to consider ignoring the initial parameters
which are applied to all the shapes in the scene-graph.). Demonstrate
this feature by finding good transition points between two different motions,
or by finding good single cycle points within a single motion.
-
(3) For blending matrices, blend the matrices using weighted quaternion
averaging rather that weighted parameter averaging.
-
(?) Impress us with something we hadn't considered...
By implementing all the required features, you get 16 points. There are
several ways to get more points:
-
implement optional features (as listed above),
-
(1) submit an image for the art contest
-
(1) submit a movie for the art contest
-
(1) submit a .ray file and a .key file for the art contest
-
(2) win the art contest
-
(?) implement something original
It is possible to get more than 20 points. However, after 20 points, each
point is divided by 2, and after 22 points, each point is divided by 4.
Getting Started
You should use the code available at /u/cs426/5/, on the MECA
machines, as a starting point for your assignment.
It is very similar to the code used in assignments #2 and #3.
A new overview of the code can be found here.
In addition to the code for reading and drawing .ray and .key files,
we also provide you with the following code for least squares fitting of
data (to be used for fitting BSpline control points):
-
SVDFit.[cpp/h/inl] - A high level wrapper for the SVD class. You will make
calls to this to fit splines.
-
MatrixMNTC.[cpp/h/inl] - A matrix class used with calls to SVDFit.
-
SVD.[cpp/h/inl] - The low level SVD library class used by SVDFit. You won't
touch this.
By compiling the provided code, you will get a .ray file viewer suitable
for use in the "keyframe animator" portion of the assignment.
You can use this code, or any other OpenGL program, as a starting point
for the "keyframe editor."
What to Submit
You should submit
one archive (zip or tar file) containing:
-
the complete source code with a Visual C project file
-
any images you created for the art contest
-
any movies you created for the art contest.
-
any .ray and .key files you created
-
a writeup
The writeup should be a HTML document called assignment5.html
which may include other documents or pictures. It should be brief, describing
what you have implemented, and how you created your models.
Make sure the code compiles in the MECA
workstations under Visual C++ (unlike previous assignments, we are
requiring compiling under Visual C++). If it doesn't, your grade will suffer.
If submit doesn't work email your assignment. Always remember
the late
policy and the collaboration
policy.
Notes
I recieved a number of questions about the .key file editor and how it
should be incorporated into the project. There are really two ways and
either will do:
-
Write a separate program that reads in a .key file, allows the user to
specify one of the joints (a menu option) and an interpolating function,
and then plots the associated graph. The user should then be able to move
the sample points and watch the graph change interactively. Finally, the
user should be able to dump the new sample points out to a file.
-
Alternatively, and this is harder, the .key file editor can be incorporated
into the ray viewer. The same features have to be implemented but then
the user gets to see how the changes to the sample points modify the animation,
(without having to save the .key file, update the .ray file and then run
the animation). In order to get this to work you will have to deal with
the fact that multiple .ray files can be included in the initial file,
and each of these might have its own .key file. This means that you will
have to allow the user to traverse the included .ray file tree and select
the appropriate .key file. (This will require a certain amount of recursion.)
While I believe that the second method is much cooler, I would advise you
to stick with the first. There are two executables in the /u/cs426/5 directory
called keyViewer and keyViewer.exe. You can run them by typing:
keyViewer -src <.key file>
The executables implement linear and gaussian interpolation, which
should not be too helpful for you, but at least you can get a sense of
what the .key file editor should look like in action. (Note that you will
get a black screen until you select some parameter.)


